# Install IPEX-LLM on Linux with Intel GPU
This guide demonstrates how to install IPEX-LLM on Linux with Intel GPUs. It applies to Intel Data Center GPU Flex Series and Max Series, as well as Intel Arc Series GPU.
IPEX-LLM currently supports the Ubuntu 20.04 operating system and later, and supports PyTorch 2.0 and PyTorch 2.1 on Linux. This page demonstrates IPEX-LLM with PyTorch 2.1. Check the [Installation](https://ipex-llm.readthedocs.io/en/latest/doc/LLM/Overview/install_gpu.html#linux) page for more details.
## Install Prerequisites
### Install GPU Driver
#### For Linux kernel 6.2
* Install wget, gpg-agent
```bash
sudo apt-get install -y gpg-agent wget
wget -qO - https://repositories.intel.com/gpu/intel-graphics.key | \
sudo gpg --dearmor --output /usr/share/keyrings/intel-graphics.gpg
echo "deb [arch=amd64,i386 signed-by=/usr/share/keyrings/intel-graphics.gpg] https://repositories.intel.com/gpu/ubuntu jammy client" | \
sudo tee /etc/apt/sources.list.d/intel-gpu-jammy.list
```
 * Install drivers
```bash
sudo apt-get update
sudo apt-get -y install \
gawk \
dkms \
linux-headers-$(uname -r) \
libc6-dev
sudo apt install intel-i915-dkms intel-fw-gpu
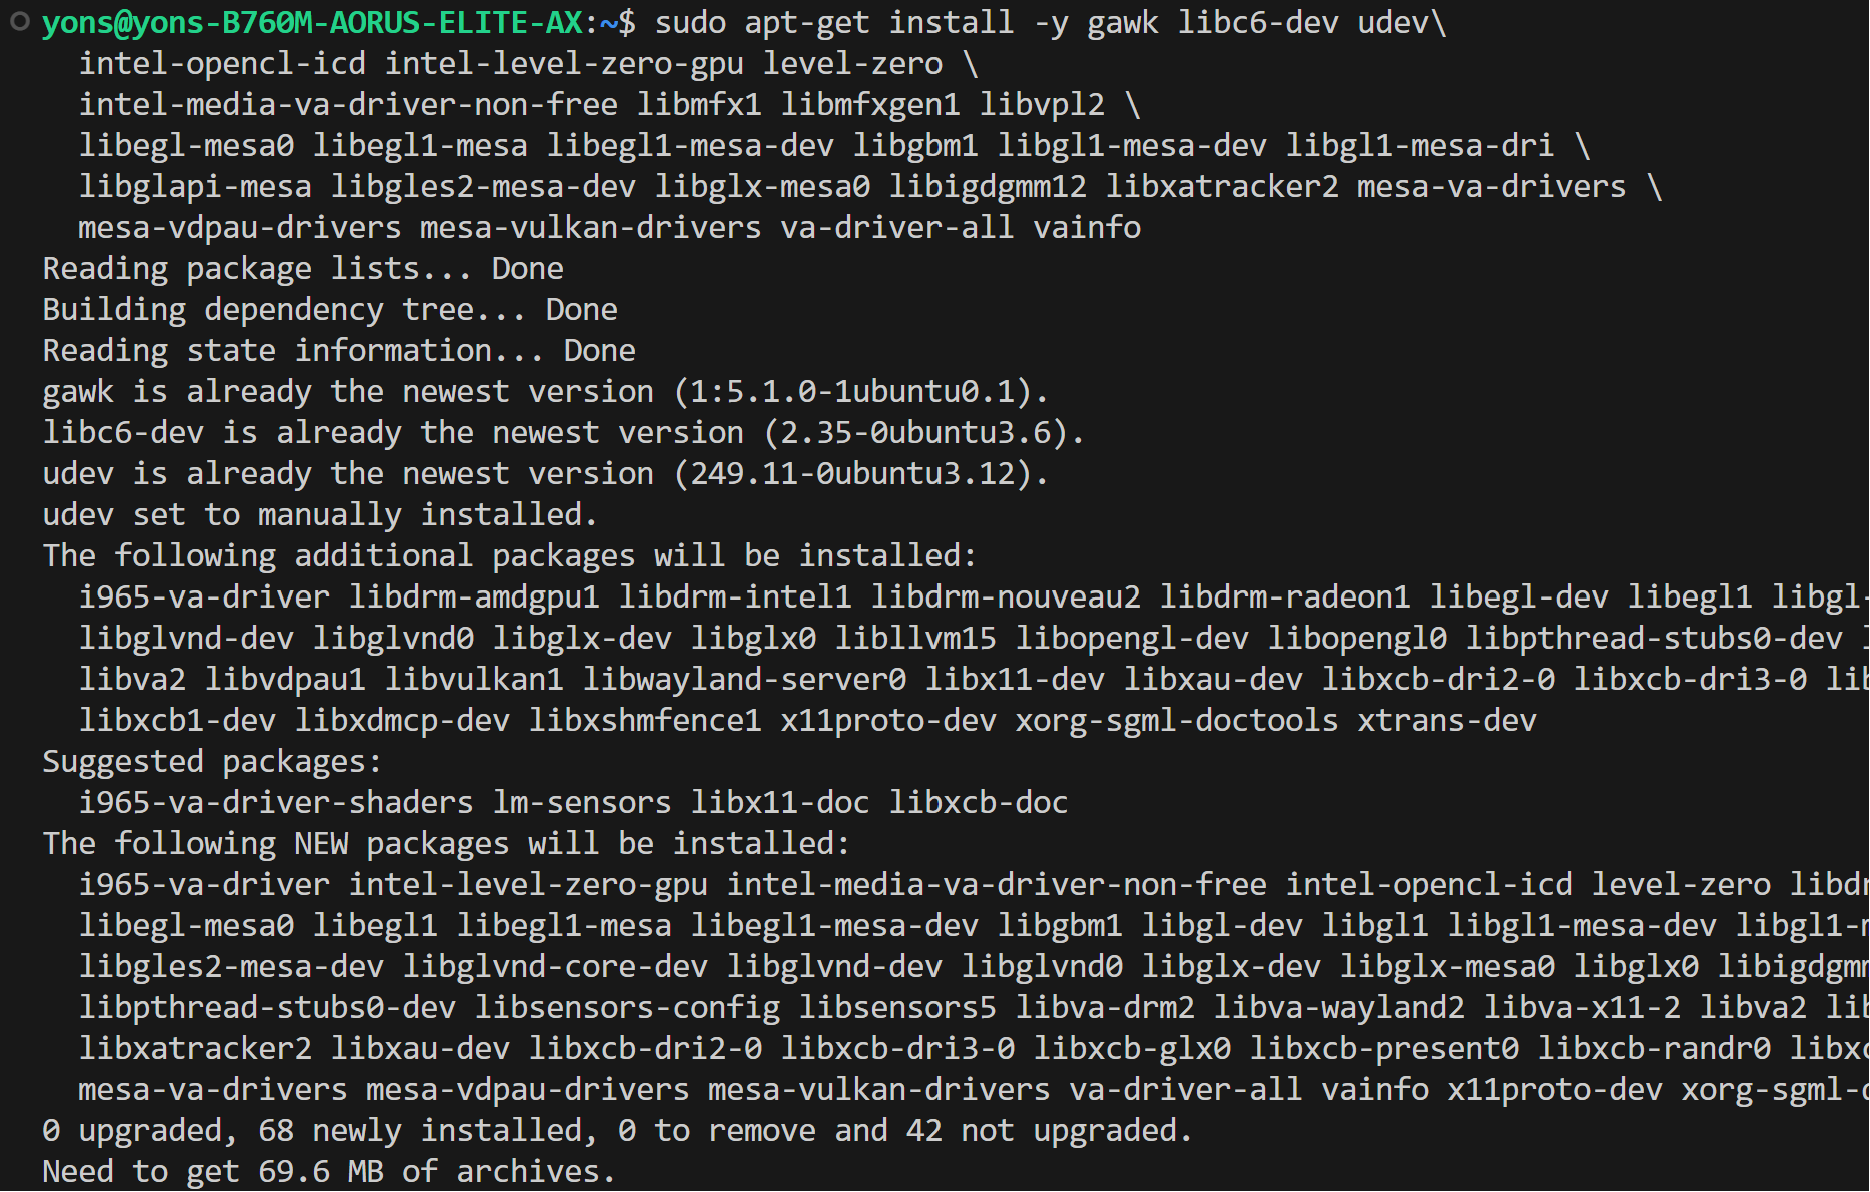
sudo apt-get install -y gawk libc6-dev udev\
intel-opencl-icd intel-level-zero-gpu level-zero \
intel-media-va-driver-non-free libmfx1 libmfxgen1 libvpl2 \
libegl-mesa0 libegl1-mesa libegl1-mesa-dev libgbm1 libgl1-mesa-dev libgl1-mesa-dri \
libglapi-mesa libgles2-mesa-dev libglx-mesa0 libigdgmm12 libxatracker2 mesa-va-drivers \
mesa-vdpau-drivers mesa-vulkan-drivers va-driver-all vainfo
sudo reboot
```
* Install drivers
```bash
sudo apt-get update
sudo apt-get -y install \
gawk \
dkms \
linux-headers-$(uname -r) \
libc6-dev
sudo apt install intel-i915-dkms intel-fw-gpu
sudo apt-get install -y gawk libc6-dev udev\
intel-opencl-icd intel-level-zero-gpu level-zero \
intel-media-va-driver-non-free libmfx1 libmfxgen1 libvpl2 \
libegl-mesa0 libegl1-mesa libegl1-mesa-dev libgbm1 libgl1-mesa-dev libgl1-mesa-dri \
libglapi-mesa libgles2-mesa-dev libglx-mesa0 libigdgmm12 libxatracker2 mesa-va-drivers \
mesa-vdpau-drivers mesa-vulkan-drivers va-driver-all vainfo
sudo reboot
```

 * Configure permissions
```bash
sudo gpasswd -a ${USER} render
newgrp render
# Verify the device is working with i915 driver
sudo apt-get install -y hwinfo
hwinfo --display
```
#### For Linux kernel 6.5
* Install wget, gpg-agent
```bash
sudo apt-get install -y gpg-agent wget
wget -qO - https://repositories.intel.com/gpu/intel-graphics.key | \
sudo gpg --dearmor --output /usr/share/keyrings/intel-graphics.gpg
echo "deb [arch=amd64,i386 signed-by=/usr/share/keyrings/intel-graphics.gpg] https://repositories.intel.com/gpu/ubuntu jammy client" | \
sudo tee /etc/apt/sources.list.d/intel-gpu-jammy.list
```
* Install drivers
```bash
sudo apt-get update
sudo apt-get -y install \
gawk \
dkms \
linux-headers-$(uname -r) \
libc6-dev
sudo apt-get install -y gawk libc6-dev udev\
intel-opencl-icd intel-level-zero-gpu level-zero \
intel-media-va-driver-non-free libmfx1 libmfxgen1 libvpl2 \
libegl-mesa0 libegl1-mesa libegl1-mesa-dev libgbm1 libgl1-mesa-dev libgl1-mesa-dri \
libglapi-mesa libgles2-mesa-dev libglx-mesa0 libigdgmm12 libxatracker2 mesa-va-drivers \
mesa-vdpau-drivers mesa-vulkan-drivers va-driver-all vainfo
sudo reboot
```
* Configure permissions
```bash
sudo gpasswd -a ${USER} render
newgrp render
# Verify the device is working with i915 driver
sudo apt-get install -y hwinfo
hwinfo --display
```
### Install oneAPI
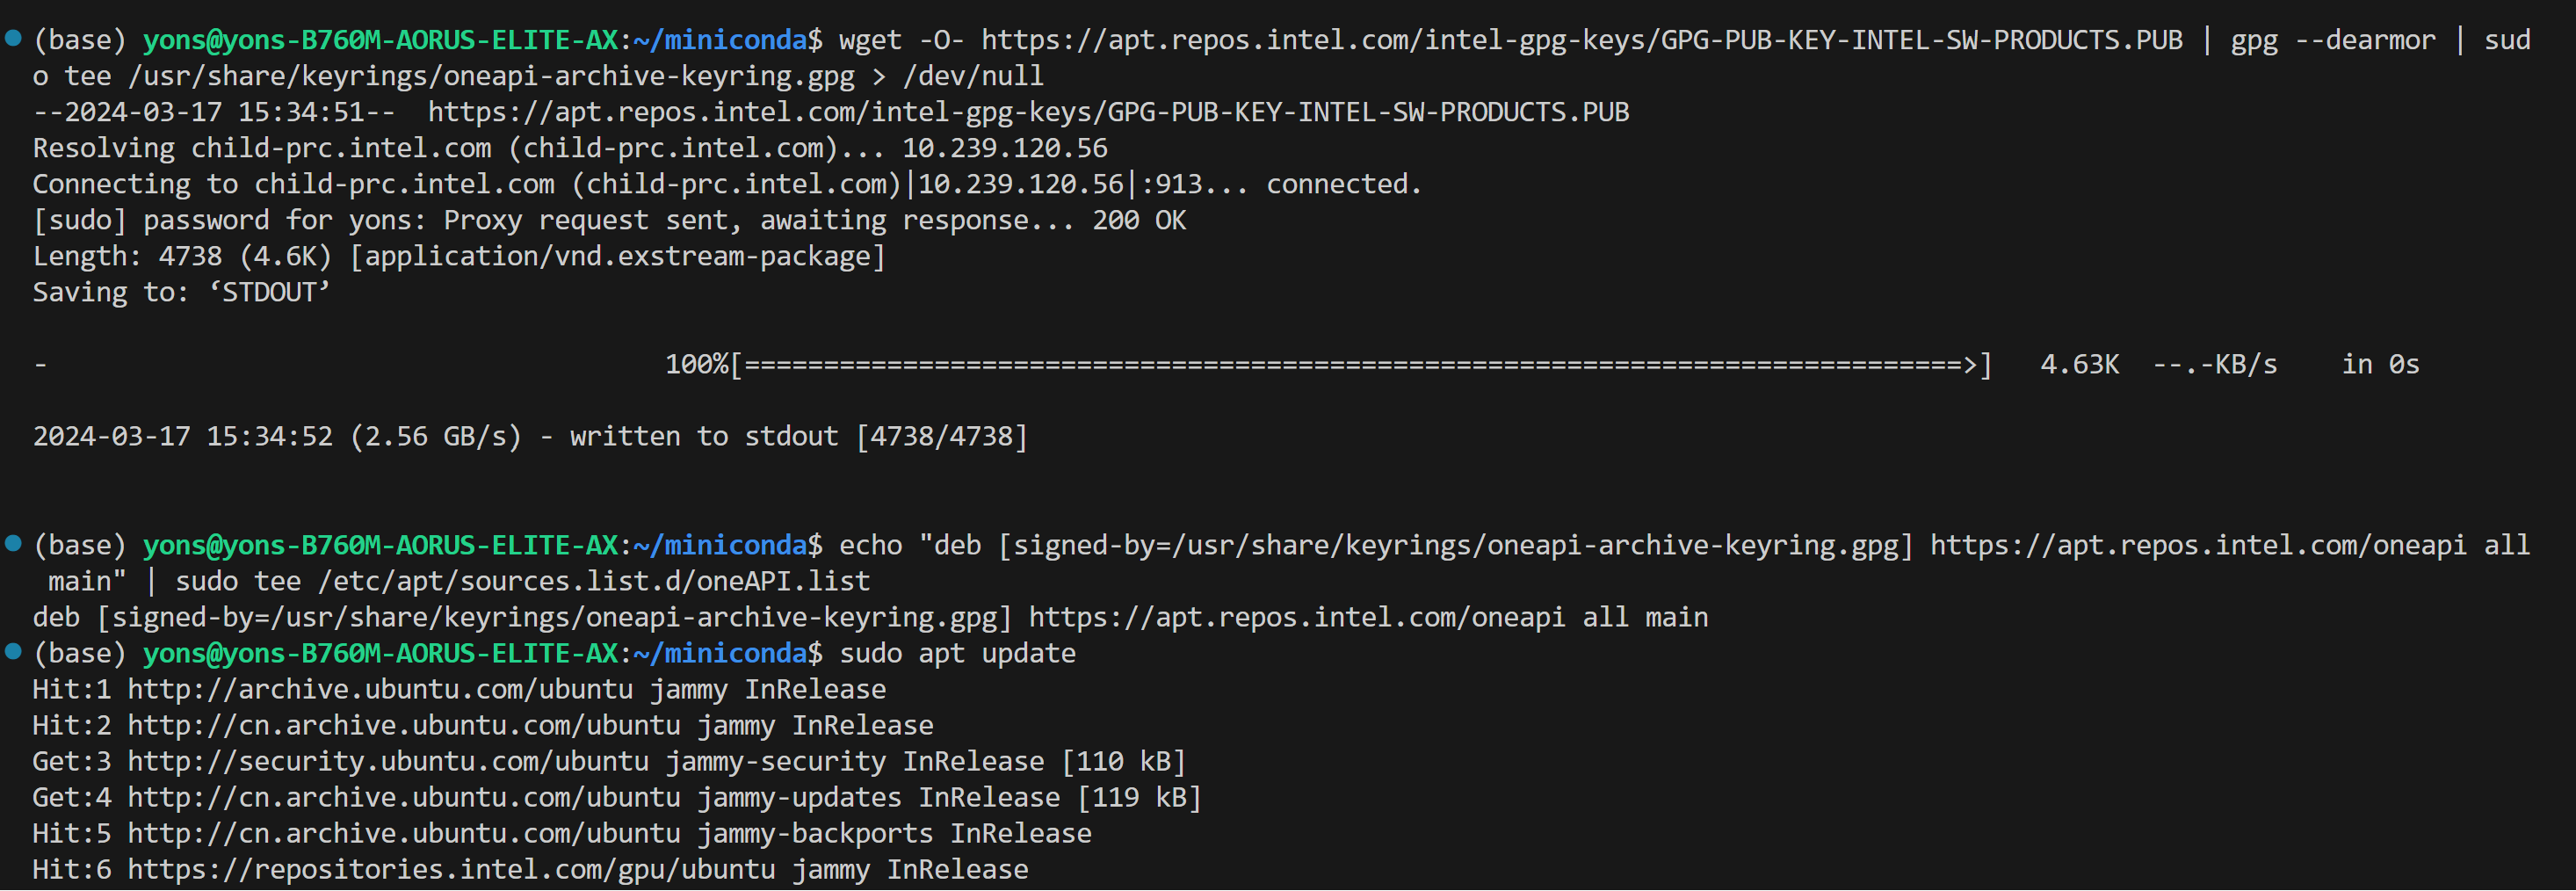
```
wget -O- https://apt.repos.intel.com/intel-gpg-keys/GPG-PUB-KEY-INTEL-SW-PRODUCTS.PUB | gpg --dearmor | sudo tee /usr/share/keyrings/oneapi-archive-keyring.gpg > /dev/null
echo "deb [signed-by=/usr/share/keyrings/oneapi-archive-keyring.gpg] https://apt.repos.intel.com/oneapi all main" | sudo tee /etc/apt/sources.list.d/oneAPI.list
sudo apt update
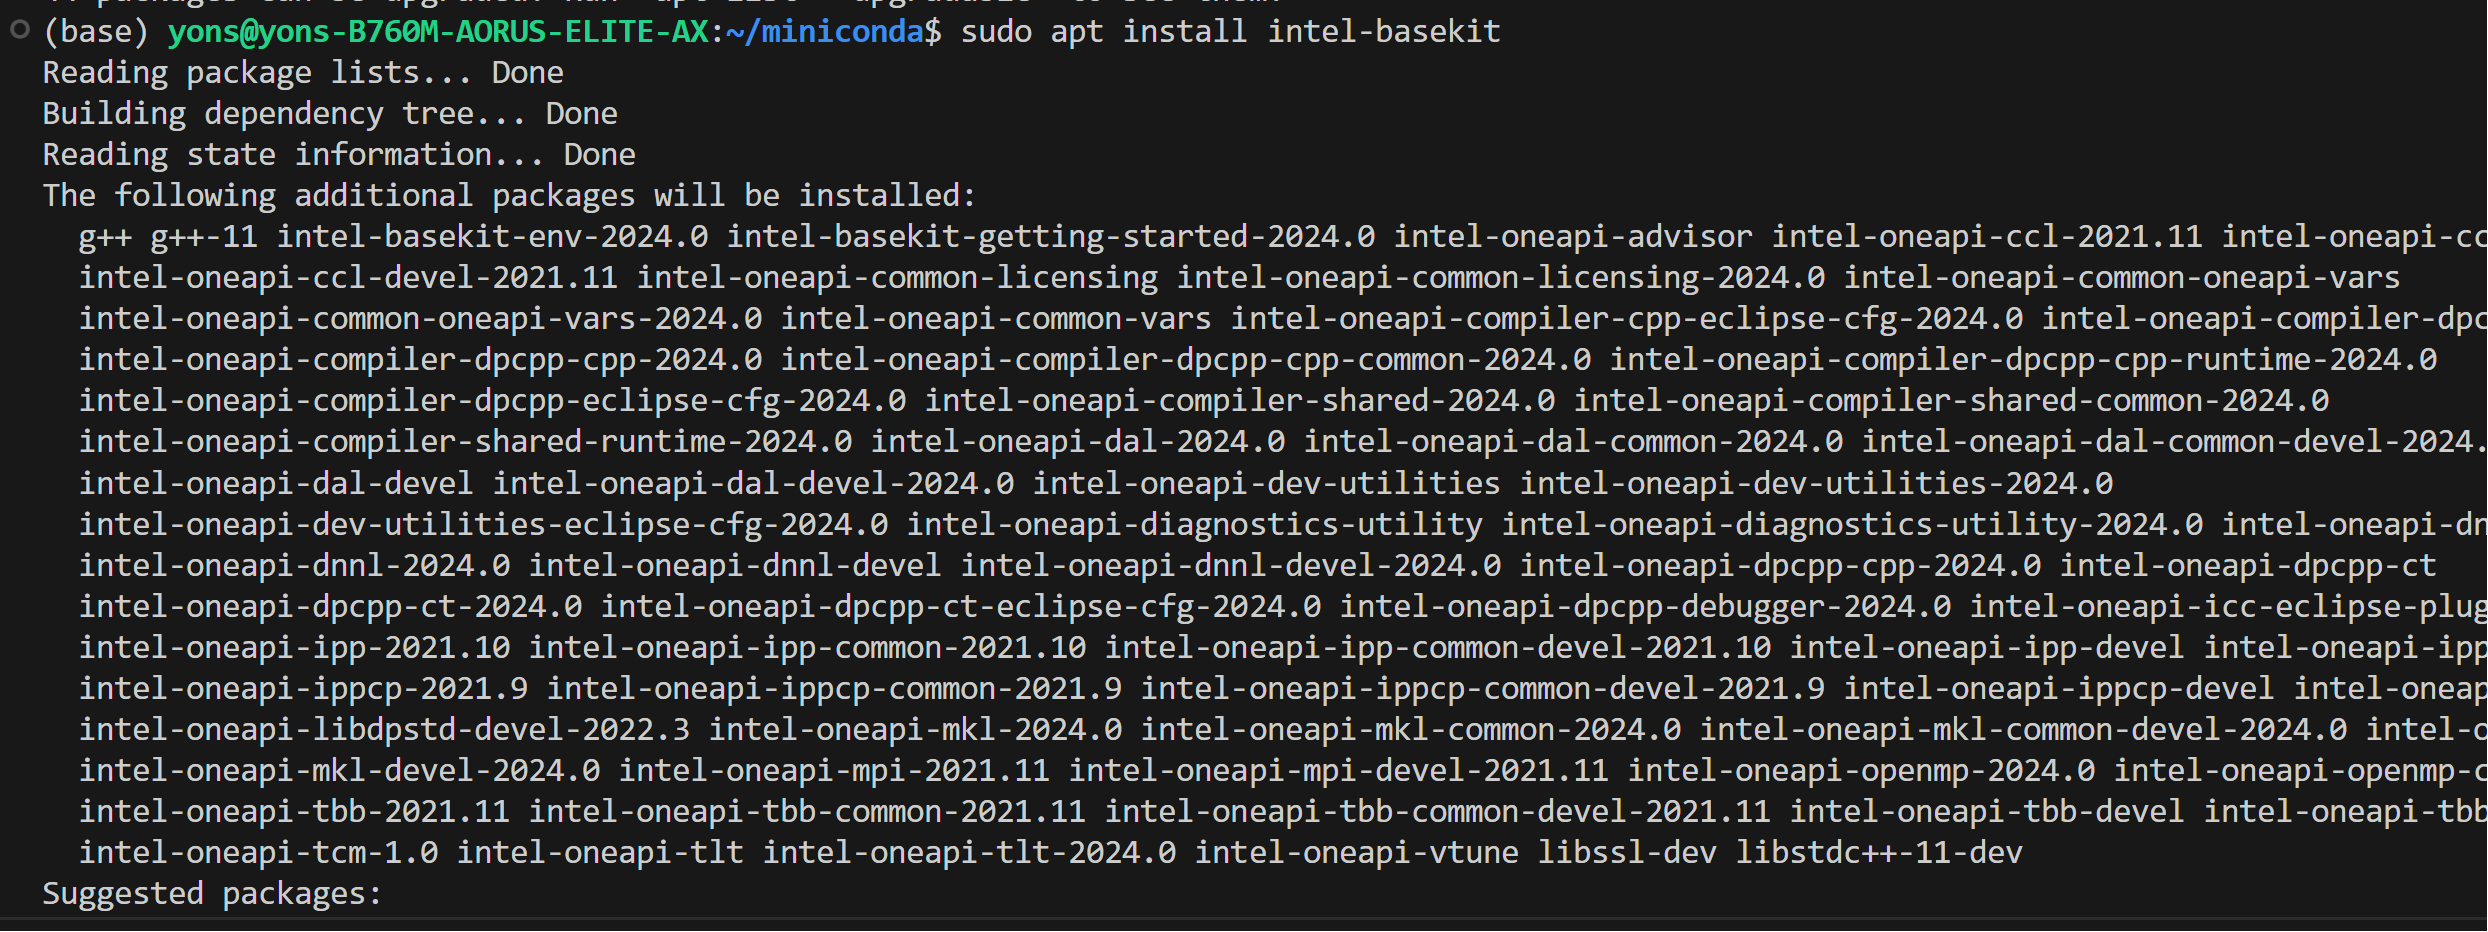
sudo apt install intel-oneapi-common-vars=2024.0.0-49406 \
intel-oneapi-common-oneapi-vars=2024.0.0-49406 \
intel-oneapi-diagnostics-utility=2024.0.0-49093 \
intel-oneapi-compiler-dpcpp-cpp=2024.0.2-49895 \
intel-oneapi-dpcpp-ct=2024.0.0-49381 \
intel-oneapi-mkl=2024.0.0-49656 \
intel-oneapi-mkl-devel=2024.0.0-49656 \
intel-oneapi-mpi=2021.11.0-49493 \
intel-oneapi-mpi-devel=2021.11.0-49493 \
intel-oneapi-dal=2024.0.1-25 \
intel-oneapi-dal-devel=2024.0.1-25 \
intel-oneapi-ippcp=2021.9.1-5 \
intel-oneapi-ippcp-devel=2021.9.1-5 \
intel-oneapi-ipp=2021.10.1-13 \
intel-oneapi-ipp-devel=2021.10.1-13 \
intel-oneapi-tlt=2024.0.0-352 \
intel-oneapi-ccl=2021.11.2-5 \
intel-oneapi-ccl-devel=2021.11.2-5 \
intel-oneapi-dnnl-devel=2024.0.0-49521 \
intel-oneapi-dnnl=2024.0.0-49521 \
intel-oneapi-tcm-1.0=1.0.0-435
```
* Configure permissions
```bash
sudo gpasswd -a ${USER} render
newgrp render
# Verify the device is working with i915 driver
sudo apt-get install -y hwinfo
hwinfo --display
```
#### For Linux kernel 6.5
* Install wget, gpg-agent
```bash
sudo apt-get install -y gpg-agent wget
wget -qO - https://repositories.intel.com/gpu/intel-graphics.key | \
sudo gpg --dearmor --output /usr/share/keyrings/intel-graphics.gpg
echo "deb [arch=amd64,i386 signed-by=/usr/share/keyrings/intel-graphics.gpg] https://repositories.intel.com/gpu/ubuntu jammy client" | \
sudo tee /etc/apt/sources.list.d/intel-gpu-jammy.list
```
* Install drivers
```bash
sudo apt-get update
sudo apt-get -y install \
gawk \
dkms \
linux-headers-$(uname -r) \
libc6-dev
sudo apt-get install -y gawk libc6-dev udev\
intel-opencl-icd intel-level-zero-gpu level-zero \
intel-media-va-driver-non-free libmfx1 libmfxgen1 libvpl2 \
libegl-mesa0 libegl1-mesa libegl1-mesa-dev libgbm1 libgl1-mesa-dev libgl1-mesa-dri \
libglapi-mesa libgles2-mesa-dev libglx-mesa0 libigdgmm12 libxatracker2 mesa-va-drivers \
mesa-vdpau-drivers mesa-vulkan-drivers va-driver-all vainfo
sudo reboot
```
* Configure permissions
```bash
sudo gpasswd -a ${USER} render
newgrp render
# Verify the device is working with i915 driver
sudo apt-get install -y hwinfo
hwinfo --display
```
### Install oneAPI
```
wget -O- https://apt.repos.intel.com/intel-gpg-keys/GPG-PUB-KEY-INTEL-SW-PRODUCTS.PUB | gpg --dearmor | sudo tee /usr/share/keyrings/oneapi-archive-keyring.gpg > /dev/null
echo "deb [signed-by=/usr/share/keyrings/oneapi-archive-keyring.gpg] https://apt.repos.intel.com/oneapi all main" | sudo tee /etc/apt/sources.list.d/oneAPI.list
sudo apt update
sudo apt install intel-oneapi-common-vars=2024.0.0-49406 \
intel-oneapi-common-oneapi-vars=2024.0.0-49406 \
intel-oneapi-diagnostics-utility=2024.0.0-49093 \
intel-oneapi-compiler-dpcpp-cpp=2024.0.2-49895 \
intel-oneapi-dpcpp-ct=2024.0.0-49381 \
intel-oneapi-mkl=2024.0.0-49656 \
intel-oneapi-mkl-devel=2024.0.0-49656 \
intel-oneapi-mpi=2021.11.0-49493 \
intel-oneapi-mpi-devel=2021.11.0-49493 \
intel-oneapi-dal=2024.0.1-25 \
intel-oneapi-dal-devel=2024.0.1-25 \
intel-oneapi-ippcp=2021.9.1-5 \
intel-oneapi-ippcp-devel=2021.9.1-5 \
intel-oneapi-ipp=2021.10.1-13 \
intel-oneapi-ipp-devel=2021.10.1-13 \
intel-oneapi-tlt=2024.0.0-352 \
intel-oneapi-ccl=2021.11.2-5 \
intel-oneapi-ccl-devel=2021.11.2-5 \
intel-oneapi-dnnl-devel=2024.0.0-49521 \
intel-oneapi-dnnl=2024.0.0-49521 \
intel-oneapi-tcm-1.0=1.0.0-435
```
 ### Setup Python Environment
Download and install the Miniconda as follows if you don't have conda installed on your machine:
```bash
wget https://repo.continuum.io/miniconda/Miniconda3-latest-Linux-x86_64.sh
bash Miniconda3-latest-Linux-x86_64.sh
source ~/.bashrc
```
You can use `conda --version` to verify you conda installation.
After installation, create a new python environment `llm`:
```cmd
conda create -n llm python=3.11
```
Activate the newly created environment `llm`:
```cmd
conda activate llm
```
## Install `ipex-llm`
With the `llm` environment active, use `pip` to install `ipex-llm` for GPU.
Choose either US or CN website for `extra-index-url`:
```eval_rst
.. tabs::
.. tab:: US
.. code-block:: cmd
pip install --pre --upgrade ipex-llm[xpu] --extra-index-url https://pytorch-extension.intel.com/release-whl/stable/xpu/us/
.. tab:: CN
.. code-block:: cmd
pip install --pre --upgrade ipex-llm[xpu] --extra-index-url https://pytorch-extension.intel.com/release-whl/stable/xpu/cn/
```
```eval_rst
.. note::
If you encounter network issues while installing IPEX, refer to `this guide `_ for troubleshooting advice.
```
## Verify Installation
* You can verify if `ipex-llm` is successfully installed by simply importing a few classes from the library. For example, execute the following import command in the terminal:
```bash
source /opt/intel/oneapi/setvars.sh
python
> from ipex_llm.transformers import AutoModel, AutoModelForCausalLM
```
## Runtime Configurations
To use GPU acceleration on Linux, several environment variables are required or recommended before running a GPU example.
```eval_rst
.. tabs::
.. tab:: Intel Arc™ A-Series and Intel Data Center GPU Flex
For Intel Arc™ A-Series Graphics and Intel Data Center GPU Flex Series, we recommend:
.. code-block:: bash
# Configure oneAPI environment variables. Required step for APT or offline installed oneAPI.
# Skip this step for PIP-installed oneAPI since the environment has already been configured in LD_LIBRARY_PATH.
source /opt/intel/oneapi/setvars.sh
# Recommended Environment Variables for optimal performance
export USE_XETLA=OFF
export SYCL_PI_LEVEL_ZERO_USE_IMMEDIATE_COMMANDLISTS=1
export SYCL_CACHE_PERSISTENT=1
.. tab:: Intel Data Center GPU Max
For Intel Data Center GPU Max Series, we recommend:
.. code-block:: bash
# Configure oneAPI environment variables. Required step for APT or offline installed oneAPI.
# Skip this step for PIP-installed oneAPI since the environment has already been configured in LD_LIBRARY_PATH.
source /opt/intel/oneapi/setvars.sh
# Recommended Environment Variables for optimal performance
export LD_PRELOAD=${LD_PRELOAD}:${CONDA_PREFIX}/lib/libtcmalloc.so
export SYCL_PI_LEVEL_ZERO_USE_IMMEDIATE_COMMANDLISTS=1
export SYCL_CACHE_PERSISTENT=1
export ENABLE_SDP_FUSION=1
Please note that ``libtcmalloc.so`` can be installed by ``conda install -c conda-forge -y gperftools=2.10``
```
```eval_rst
.. seealso::
Please refer to `this guide <../Overview/install_gpu.html#id5>`_ for more details regarding runtime configuration.
```
## A Quick Example
Now let's play with a real LLM. We'll be using the [phi-1.5](https://huggingface.co/microsoft/phi-1_5) model, a 1.3 billion parameter LLM for this demostration. Follow the steps below to setup and run the model, and observe how it responds to a prompt "What is AI?".
* Step 1: Open the **Anaconda Prompt** and activate the Python environment `llm` you previously created:
```bash
conda activate llm
```
* Step 2: Follow [Runtime Configurations Section](#runtime-configurations) above to prepare your runtime environment.
* Step 3: Create a new file named `demo.py` and insert the code snippet below.
```python
# Copy/Paste the contents to a new file demo.py
import torch
from ipex_llm.transformers import AutoModelForCausalLM
from transformers import AutoTokenizer, GenerationConfig
generation_config = GenerationConfig(use_cache = True)
tokenizer = AutoTokenizer.from_pretrained("tiiuae/falcon-7b", trust_remote_code=True)
# load Model using ipex-llm and load it to GPU
model = AutoModelForCausalLM.from_pretrained(
"tiiuae/falcon-7b", load_in_4bit=True, cpu_embedding=True, trust_remote_code=True)
model = model.to('xpu')
# Format the prompt
question = "What is AI?"
prompt = " Question:{prompt}\n\n Answer:".format(prompt=question)
# Generate predicted tokens
with torch.inference_mode():
input_ids = tokenizer.encode(prompt, return_tensors="pt").to('xpu')
# warm up one more time before the actual generation task for the first run, see details in `Tips & Troubleshooting`
# output = model.generate(input_ids, do_sample=False, max_new_tokens=32, generation_config = generation_config)
output = model.generate(input_ids, do_sample=False, max_new_tokens=32, generation_config = generation_config).cpu()
output_str = tokenizer.decode(output[0], skip_special_tokens=True)
print(output_str)
```
> Note: when running LLMs on Intel iGPUs with limited memory size, we recommend setting `cpu_embedding=True` in the `from_pretrained` function.
> This will allow the memory-intensive embedding layer to utilize the CPU instead of GPU.
* Step 5. Run `demo.py` within the activated Python environment using the following command:
```bash
python demo.py
```
### Example output
Example output on a system equipped with an 11th Gen Intel Core i7 CPU and Iris Xe Graphics iGPU:
```
Question:What is AI?
Answer: AI stands for Artificial Intelligence, which is the simulation of human intelligence in machines.
```
## Tips & Troubleshooting
### Warmup for optimial performance on first run
When running LLMs on GPU for the first time, you might notice the performance is lower than expected, with delays up to several minutes before the first token is generated. This delay occurs because the GPU kernels require compilation and initialization, which varies across different GPU types. To achieve optimal and consistent performance, we recommend a one-time warm-up by running `model.generate(...)` an additional time before starting your actual generation tasks. If you're developing an application, you can incorporate this warmup step into start-up or loading routine to enhance the user experience.
### Setup Python Environment
Download and install the Miniconda as follows if you don't have conda installed on your machine:
```bash
wget https://repo.continuum.io/miniconda/Miniconda3-latest-Linux-x86_64.sh
bash Miniconda3-latest-Linux-x86_64.sh
source ~/.bashrc
```
You can use `conda --version` to verify you conda installation.
After installation, create a new python environment `llm`:
```cmd
conda create -n llm python=3.11
```
Activate the newly created environment `llm`:
```cmd
conda activate llm
```
## Install `ipex-llm`
With the `llm` environment active, use `pip` to install `ipex-llm` for GPU.
Choose either US or CN website for `extra-index-url`:
```eval_rst
.. tabs::
.. tab:: US
.. code-block:: cmd
pip install --pre --upgrade ipex-llm[xpu] --extra-index-url https://pytorch-extension.intel.com/release-whl/stable/xpu/us/
.. tab:: CN
.. code-block:: cmd
pip install --pre --upgrade ipex-llm[xpu] --extra-index-url https://pytorch-extension.intel.com/release-whl/stable/xpu/cn/
```
```eval_rst
.. note::
If you encounter network issues while installing IPEX, refer to `this guide `_ for troubleshooting advice.
```
## Verify Installation
* You can verify if `ipex-llm` is successfully installed by simply importing a few classes from the library. For example, execute the following import command in the terminal:
```bash
source /opt/intel/oneapi/setvars.sh
python
> from ipex_llm.transformers import AutoModel, AutoModelForCausalLM
```
## Runtime Configurations
To use GPU acceleration on Linux, several environment variables are required or recommended before running a GPU example.
```eval_rst
.. tabs::
.. tab:: Intel Arc™ A-Series and Intel Data Center GPU Flex
For Intel Arc™ A-Series Graphics and Intel Data Center GPU Flex Series, we recommend:
.. code-block:: bash
# Configure oneAPI environment variables. Required step for APT or offline installed oneAPI.
# Skip this step for PIP-installed oneAPI since the environment has already been configured in LD_LIBRARY_PATH.
source /opt/intel/oneapi/setvars.sh
# Recommended Environment Variables for optimal performance
export USE_XETLA=OFF
export SYCL_PI_LEVEL_ZERO_USE_IMMEDIATE_COMMANDLISTS=1
export SYCL_CACHE_PERSISTENT=1
.. tab:: Intel Data Center GPU Max
For Intel Data Center GPU Max Series, we recommend:
.. code-block:: bash
# Configure oneAPI environment variables. Required step for APT or offline installed oneAPI.
# Skip this step for PIP-installed oneAPI since the environment has already been configured in LD_LIBRARY_PATH.
source /opt/intel/oneapi/setvars.sh
# Recommended Environment Variables for optimal performance
export LD_PRELOAD=${LD_PRELOAD}:${CONDA_PREFIX}/lib/libtcmalloc.so
export SYCL_PI_LEVEL_ZERO_USE_IMMEDIATE_COMMANDLISTS=1
export SYCL_CACHE_PERSISTENT=1
export ENABLE_SDP_FUSION=1
Please note that ``libtcmalloc.so`` can be installed by ``conda install -c conda-forge -y gperftools=2.10``
```
```eval_rst
.. seealso::
Please refer to `this guide <../Overview/install_gpu.html#id5>`_ for more details regarding runtime configuration.
```
## A Quick Example
Now let's play with a real LLM. We'll be using the [phi-1.5](https://huggingface.co/microsoft/phi-1_5) model, a 1.3 billion parameter LLM for this demostration. Follow the steps below to setup and run the model, and observe how it responds to a prompt "What is AI?".
* Step 1: Open the **Anaconda Prompt** and activate the Python environment `llm` you previously created:
```bash
conda activate llm
```
* Step 2: Follow [Runtime Configurations Section](#runtime-configurations) above to prepare your runtime environment.
* Step 3: Create a new file named `demo.py` and insert the code snippet below.
```python
# Copy/Paste the contents to a new file demo.py
import torch
from ipex_llm.transformers import AutoModelForCausalLM
from transformers import AutoTokenizer, GenerationConfig
generation_config = GenerationConfig(use_cache = True)
tokenizer = AutoTokenizer.from_pretrained("tiiuae/falcon-7b", trust_remote_code=True)
# load Model using ipex-llm and load it to GPU
model = AutoModelForCausalLM.from_pretrained(
"tiiuae/falcon-7b", load_in_4bit=True, cpu_embedding=True, trust_remote_code=True)
model = model.to('xpu')
# Format the prompt
question = "What is AI?"
prompt = " Question:{prompt}\n\n Answer:".format(prompt=question)
# Generate predicted tokens
with torch.inference_mode():
input_ids = tokenizer.encode(prompt, return_tensors="pt").to('xpu')
# warm up one more time before the actual generation task for the first run, see details in `Tips & Troubleshooting`
# output = model.generate(input_ids, do_sample=False, max_new_tokens=32, generation_config = generation_config)
output = model.generate(input_ids, do_sample=False, max_new_tokens=32, generation_config = generation_config).cpu()
output_str = tokenizer.decode(output[0], skip_special_tokens=True)
print(output_str)
```
> Note: when running LLMs on Intel iGPUs with limited memory size, we recommend setting `cpu_embedding=True` in the `from_pretrained` function.
> This will allow the memory-intensive embedding layer to utilize the CPU instead of GPU.
* Step 5. Run `demo.py` within the activated Python environment using the following command:
```bash
python demo.py
```
### Example output
Example output on a system equipped with an 11th Gen Intel Core i7 CPU and Iris Xe Graphics iGPU:
```
Question:What is AI?
Answer: AI stands for Artificial Intelligence, which is the simulation of human intelligence in machines.
```
## Tips & Troubleshooting
### Warmup for optimial performance on first run
When running LLMs on GPU for the first time, you might notice the performance is lower than expected, with delays up to several minutes before the first token is generated. This delay occurs because the GPU kernels require compilation and initialization, which varies across different GPU types. To achieve optimal and consistent performance, we recommend a one-time warm-up by running `model.generate(...)` an additional time before starting your actual generation tasks. If you're developing an application, you can incorporate this warmup step into start-up or loading routine to enhance the user experience.